
How to Create a Seamless Video Wall Display With Clear Visuals
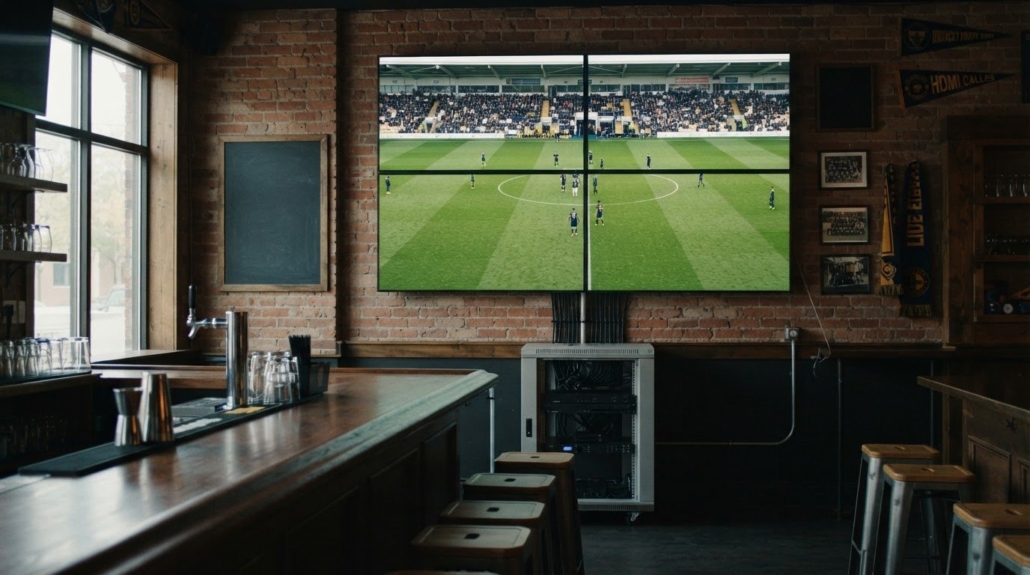
A video wall isn’t one oversized screen. It’s multiple displays or panels tiled together to create one large visual surface, with common layouts such as 2×2, 3×3, or 4×4. Creating a seamless video wall display depends on planning the layout, matching the content to the full surface, and coordinating the image across every screen.
Visible seams, mismatched content, or a layout that doesn’t suit the room can disrupt the effect. Creating a seamless video wall display starts with choosing suitable equipment and planning the installation so the screens read as one coherent image.
This guide explains what video walls are and how to plan for visual continuity, from screen placement and viewing conditions to content processing. It also compares LED, LCD, and projection-based displays to help you identify an approach for a control room, lobby, signage application, or immersive space.
Key Takeaways
- Choose LED, LCD, or projection based on the room, viewing conditions, and the visual effect you need.
- Plan screen placement around audience size, viewing distance, ambient light, and access for ventilation and maintenance.
- Use a video wall processor to coordinate content across displays and help prevent gaps or overlaps in the image.
- Account for visible LCD bezels and alignment tolerances early to reduce interruptions to visual continuity.
What Is A Video Wall?
In the United States, permit and electrical-code requirements vary by location and project scope. Local building and electrical requirements determine what applies to a commercial installation.
To maintain and troubleshoot a display, inspect panels and connections regularly, then trace signal issues from source to screen. Test each part of the signal chain in sequence to locate the fault.
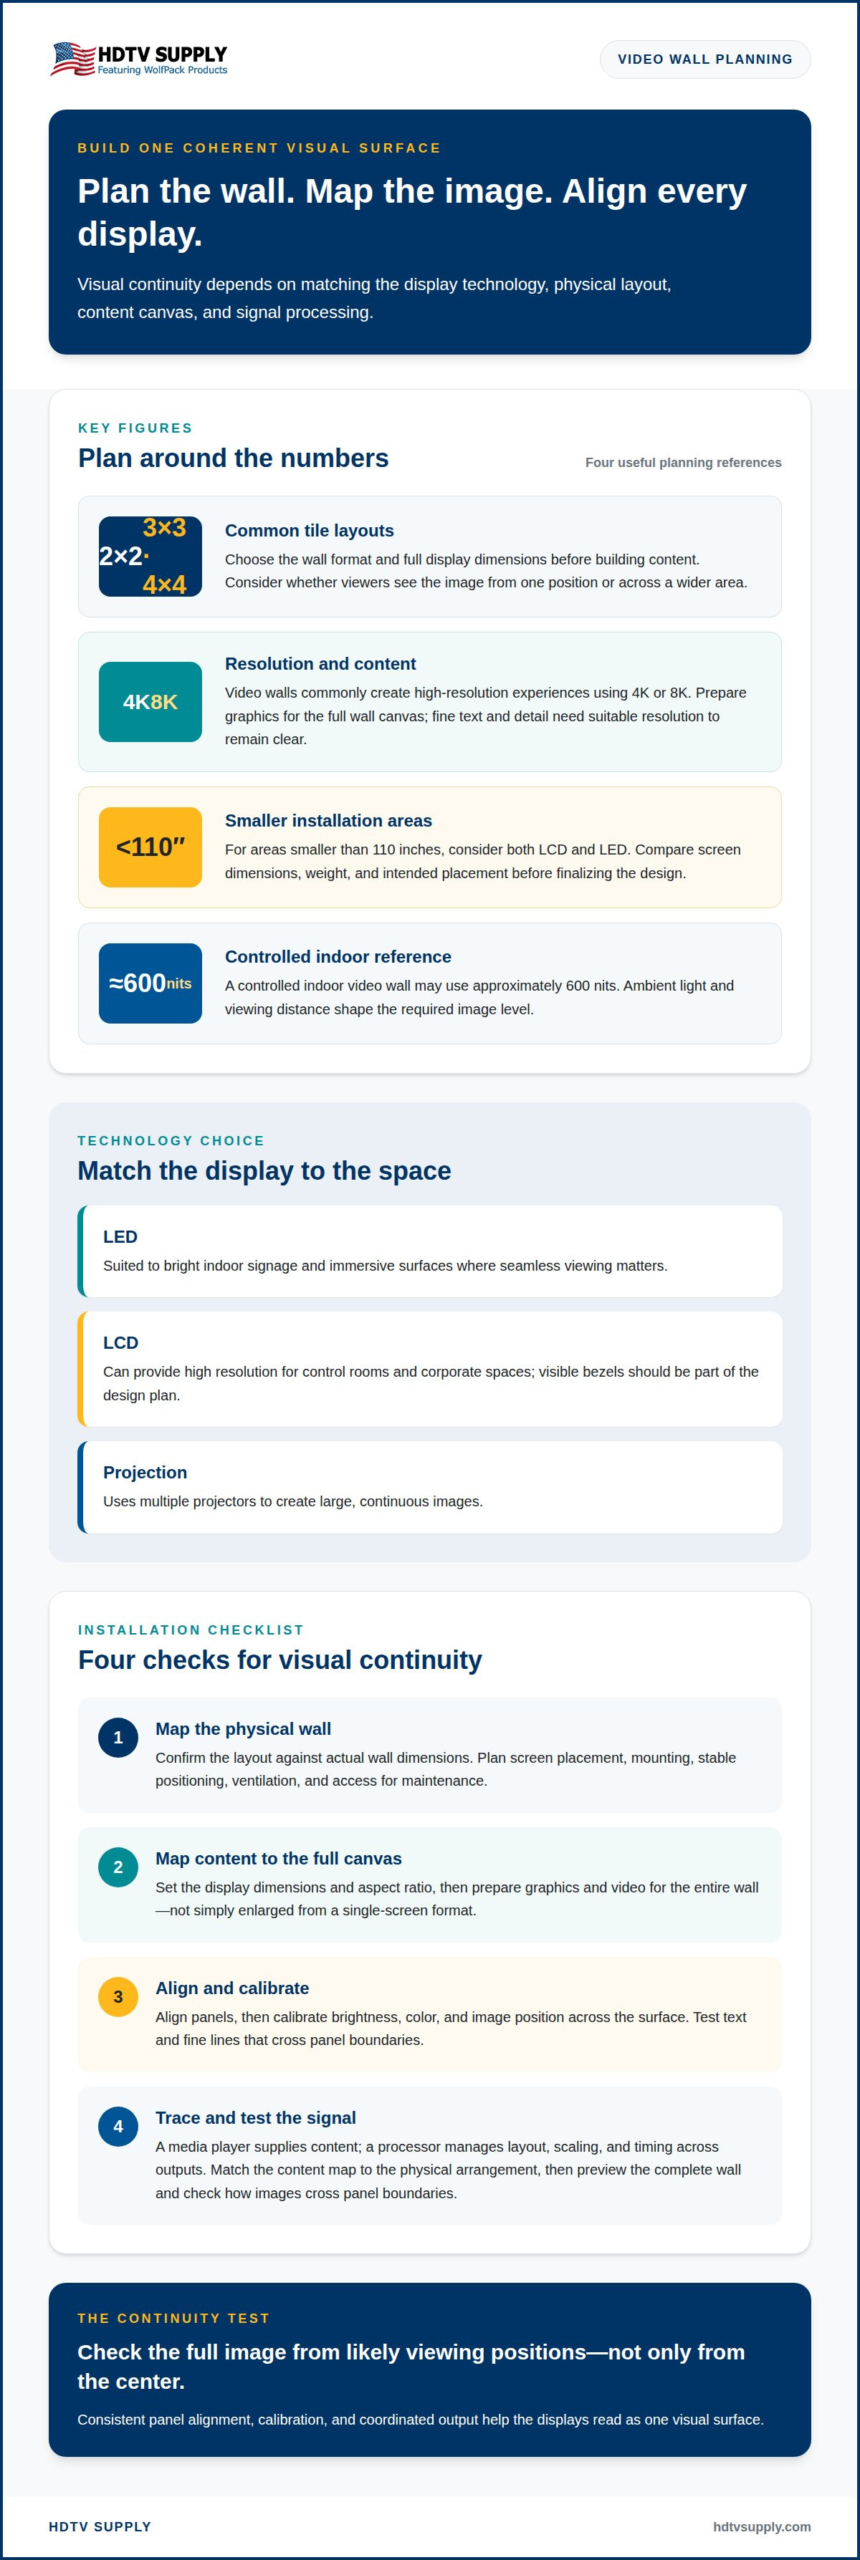
- Choose a display technology for the space. LED panels suit bright indoor signage and immersive surfaces where seamless viewing matters. LCD panels can provide high resolution for control rooms and corporate spaces, though their bezels remain visible. Projection-based walls use multiple projectors for large, continuous images.
- Map the wall’s format before selecting content. Set the full display dimensions and aspect ratio, then choose a tile layout such as 2×2, 3×3, or 4×4. Consider whether viewers will see the image from one position or across a wider area.
- Plan resolution and content together. Video walls commonly create high-resolution experiences using 4K or 8K. Prepare graphics and video for the wall’s full canvas, rather than simply enlarging content made for one screen. Fine text and detailed visuals need suitable resolution to remain clear.
- Centralize control with video wall software. A media player or processor can manage layout, scaling, and timing across panels. Configure the content map to match the physical display arrangement, then test how images cross panel boundaries. Interactive content also needs a layout designed for the wall’s dimensions.
- Schedule content and test each source. Set playlists and updates around audience needs, then use real-time control for timely changes. Preview signage and video across the complete wall before publishing. For troubleshooting, compare the source output with processor inputs and panel connections to pinpoint where the signal changes.
Professional installation and visual continuity
Plan the mounting method, screen type, and signal path as one system. Each decision affects alignment, access, and the display’s overall visual continuity.
-
Choose Screens by Installation Size
Match the display type to the installation area and viewing conditions. For areas smaller than 110 inches, consider both LCD and LED displays. Compare screen dimensions, weight, and intended placement before finalizing the design. Wall-mounted systems create an integrated look and conserve floor space. Freestanding systems suit open retail environments or spaces needing flexible placement. Keep the configuration within project requirements to avoid unnecessary equipment and mounting expense.
-
Configure and Calibrate the Wall
Set the screen layout and processor configuration before mounting, so each source maps to the correct display area. Align panels carefully, then calibrate brightness, color, and image position across the full surface. Test content that crosses panel boundaries, especially text and fine lines. An HDMI video wall processor can manage image placement across outputs, helping keep content consistent from one screen to the next.
-
Address Installation Problems and Risks
Inspect the mounting location, structure, ventilation path, and maintenance access before installation begins. Confirm that the support accommodates the combined display weight and leaves room to reach screens or media players. Poor alignment can create uneven seams, while blocked ventilation or inaccessible components can complicate operation and maintenance. Compare the planned layout with the actual wall dimensions to catch fit issues before securing equipment.
-
Preserve Visual Continuity
Check the full image from likely viewing positions, not only from the center. Match panel alignment and calibration so brightness or color shifts don’t distract viewers. Wall-mounted and freestanding setups each need stable positioning to keep the visual surface consistent. For a system using multiple video sources, a video wall processor can support coordinated output across displays.
Control-room, digital-signage, collaboration, and artistic video walls
Match control hardware to the wall’s role, content, and operating conditions. A control room, retail display, and artistic installation each have different signal-handling and brightness needs.
-
Assess Control-System Capacity
Size the control system for the current display layout and likely expansion. Check how many sources, outputs, and content zones it must manage, then leave room for additional inputs or screens. A control room designed for continuous 24/7 operation needs dependable source routing and clear operator controls. Digital signage may instead prioritize scheduled messages and straightforward updates across designated zones.
-
Select Players, Processors, and Controllers
Choose each hardware component for a defined task. Media players supply and schedule content, while processors scale and arrange images across the display surface. Controllers let operators select sources or change layouts. For a collaboration space, map presentation sources to the screens people need to view. For an artistic wall, plan how the content composition will use the entire canvas.
-
Control Video Processing and Signals
Trace the signal path from each source through processing to its destination. Confirm that the player’s output format matches the processor’s input and the display system’s requirements. Then test source changes, image scaling, and layouts across the wall. This helps pinpoint signal problems and keeps presentation content, control-room feeds, and signage routed to the intended screens.
- Set brightness and manage heat for the installation environment. A controlled indoor video wall may use approximately 600 nits, while ambient light and viewing distance shape the required image level. Check ventilation around the mounting and hardware, especially in a bright retail space or a continuously operating control room. Excess heat can affect system operation, so keep airflow clear and monitor the equipment during use.
What are the common video wall installation problems and risks?
Visual interruptions often start with panel seams, alignment errors, or a signal path that doesn’t match the display layout. Address these risks before final calibration.
- Account for LCD bezels. LCD video walls have visible bezels between panels, which can interrupt images that span multiple screens. Map content around those lines when the display shows maps, dashboards, or detailed graphics. For signage with separate images on each panel, bezel placement may matter less. Preview the actual content layout before installation, especially where text or a continuous image crosses panel edges.
- Check cabinet alignment and tolerances. Measure seams as LED cabinets are joined. Connecting eight LED cabinets can create visible dark bands when accumulated tolerance exceeds 0.4 mm. Small alignment errors can compound across a larger surface, making lines or gradients appear uneven. Inspect the full wall, not just individual joints, and correct cabinet positioning before finalizing the display.
- Test the complete signal chain. Confirm that each source reaches its intended screen through the processor. A source-format mismatch, incorrect output mapping, or loose connection can cause missing images, unexpected scaling, or inconsistent content. Test every input and layout, then follow a failed image from its source through processing to the display. This makes the fault easier to isolate.
- Protect access and airflow. Plan mounting around structural support, ventilation, and access to screens or media players. A wall that blocks airflow or prevents maintenance can make routine service difficult. Check the physical installation before covering access points, and confirm that equipment can be reached without disturbing adjacent panels.
- Review the processor path before purchase. Match the processor’s role to the number of sources and the intended screen layout. Compare HDMI video wall processors to find a suitable component for routing and arranging display content. Test the planned configuration with representative images before putting the wall into regular use.
HDTV Supply: WolfPad TV Control Systems
HDTV Supply offers WolfPad TV Control Systems for managing TV displays, alongside HDMI Video Wall Processors for routing and arranging video wall content. These options fit projects where operators need centralized display control or coordinated output across multiple screens. For systems that also require HDMI source switching, WolfPackSecure 4K 60 4:4:4 HDMI Matrix Switchers provide another component to consider.
Choose equipment based on the role each device must fill: control, processing, or source distribution. Mapping those requirements to the display layout clarifies which components belong in the system and how the signal path should work.
Contact HDTV Supply to discuss the equipment for your video wall project.
Turn Your Display Plan Into the Next Step
Move from concept to an equipment plan by identifying how each source, screen, and control point will work together. A clear system map helps align purchasing decisions with the room’s actual use, whether operators need to switch sources or manage displays centrally. To create a seamless video wall display, define the signal path and control needs before selecting components.
HDTV Supply offers WolfPack Modular Matrix Switchers, advanced video distribution options, and WolfPad TV Control Systems. These products serve different AV needs, from matrix switching and signal distribution to centralized display control. Choose equipment for the role it must serve rather than adding hardware without a defined purpose.
When you’re ready to plan the equipment for your project, contact HDTV Supply about video walls. A thoughtful system plan gives you a clear starting point for building a display that fits your space and use.
Frequently Asked Questions
What are Video Walls Used for?
Video walls present information, images, or video across a large shared display. Control rooms can show multiple monitoring feeds, while retailers use digital signage for promotions and wayfinding. Corporate teams use walls for presentations and collaboration; museums and public spaces can create immersive visual installations. Match content and layout to the audience, room, and task, such as comparing dashboards or displaying a single artwork.
What equipment is needed to create a seamless video wall display?
A typical system uses display panels, mounting hardware, a media player or video source, and a processor or controller. Signal cables connect sources to processing equipment and displays. Add a matrix switcher when the setup needs to route several HDMI sources to different screens. The right combination depends on the wall layout and how operators will select, arrange, and update content.
How do you calculate video wall size, resolution, and viewing distance?
Start with the farthest viewing position and available wall area. Set the screen height at roughly one-sixth to one-eighth of that distance, then choose a width and aspect ratio that fit. For LED, a rule of thumb pairs ten feet of viewing distance with each millimeter of pixel pitch. Match resolution to viewing needs and the detail in the content.
How do you minimize bezels and image gaps in a video wall?
Choose a display type that suits the required visual continuity, then align panels precisely and map content to their physical arrangement. LCD bezels remain visible, so avoid placing small text or critical details across panel borders. For LED cabinets, inspect seams and alignment across the entire surface. Processor configuration and calibration also help prevent gaps or overlaps between displays.
What is the difference between LCD, LED, and projection video walls?
LCD walls use tiled screens and can deliver high resolution, but panel bezels may interrupt a continuous image. LED walls use modules that can create a seamless-looking surface and work well in bright environments with wider viewing angles. Projection walls combine images from multiple projectors to support large continuous visuals in immersive spaces. Room lighting, viewing position, and image content guide the choice.
How much does a seamless video wall display cost, including installation?
Total project cost depends on display technology, wall dimensions, resolution, processing needs, mounting requirements, and the complexity of power and signal cabling. Installation costs also depend on the site, structural preparation, equipment access, and labor involved. HDTV Supply sells professional AV hardware, including video wall processors, but does not provide on-site installation services. Build the budget around both equipment and installation scope.
Leave a Reply
Want to join the discussion?Feel free to contribute!