
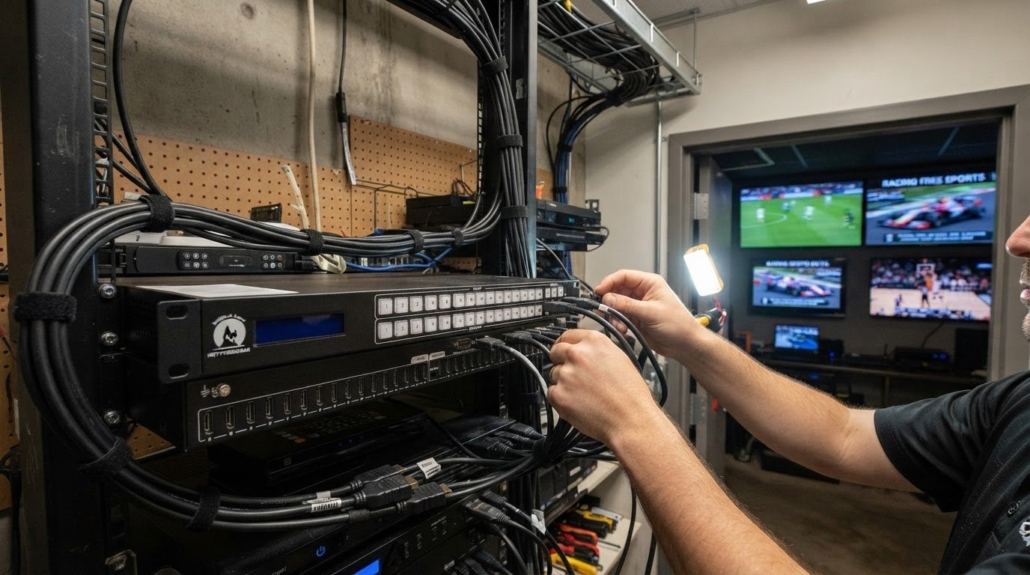
How to Install a WolfPack Matrix in a Sports Bar
The switch isn’t the first decision; the signal path is. To learn how to install a WolfPack matrix switch in a sports bar, start by matching your sources, matrix, and TVs for HDMI and resolution compatibility, then map each source to the screens that need it. WolfPack Sports Bar Fixed HDMI Matrix Switchers offer 1080p, 4K 30, and 4K 60 options, with configurations ranging from 4×4 to 16×32.
It’s easy to focus on connecting cables, but a reliable setup also depends on choosing the right input and output capacity and a control method staff can use confidently. This guide explains how to assess 4K and HDMI compatibility, plan for a larger AV setup, select control options, and route sources such as cable boxes to individual TVs or groups of screens. You’ll have a practical sequence for planning the system before making connections, plus a clearer picture of when a fixed matrix or an expandable modular setup best fits your venue.
Key Takeaways
- Match the matrix’s video capabilities with the sources and displays in your bar before planning connections.
- Choose a fixed or modular setup based on the system’s current needs and how you expect it to grow.
- Select a control method that makes changing screens straightforward for staff during service.
- Plan source-to-TV routes in advance so each game or program reaches the intended screens.
4K video support and HDMI compatibility
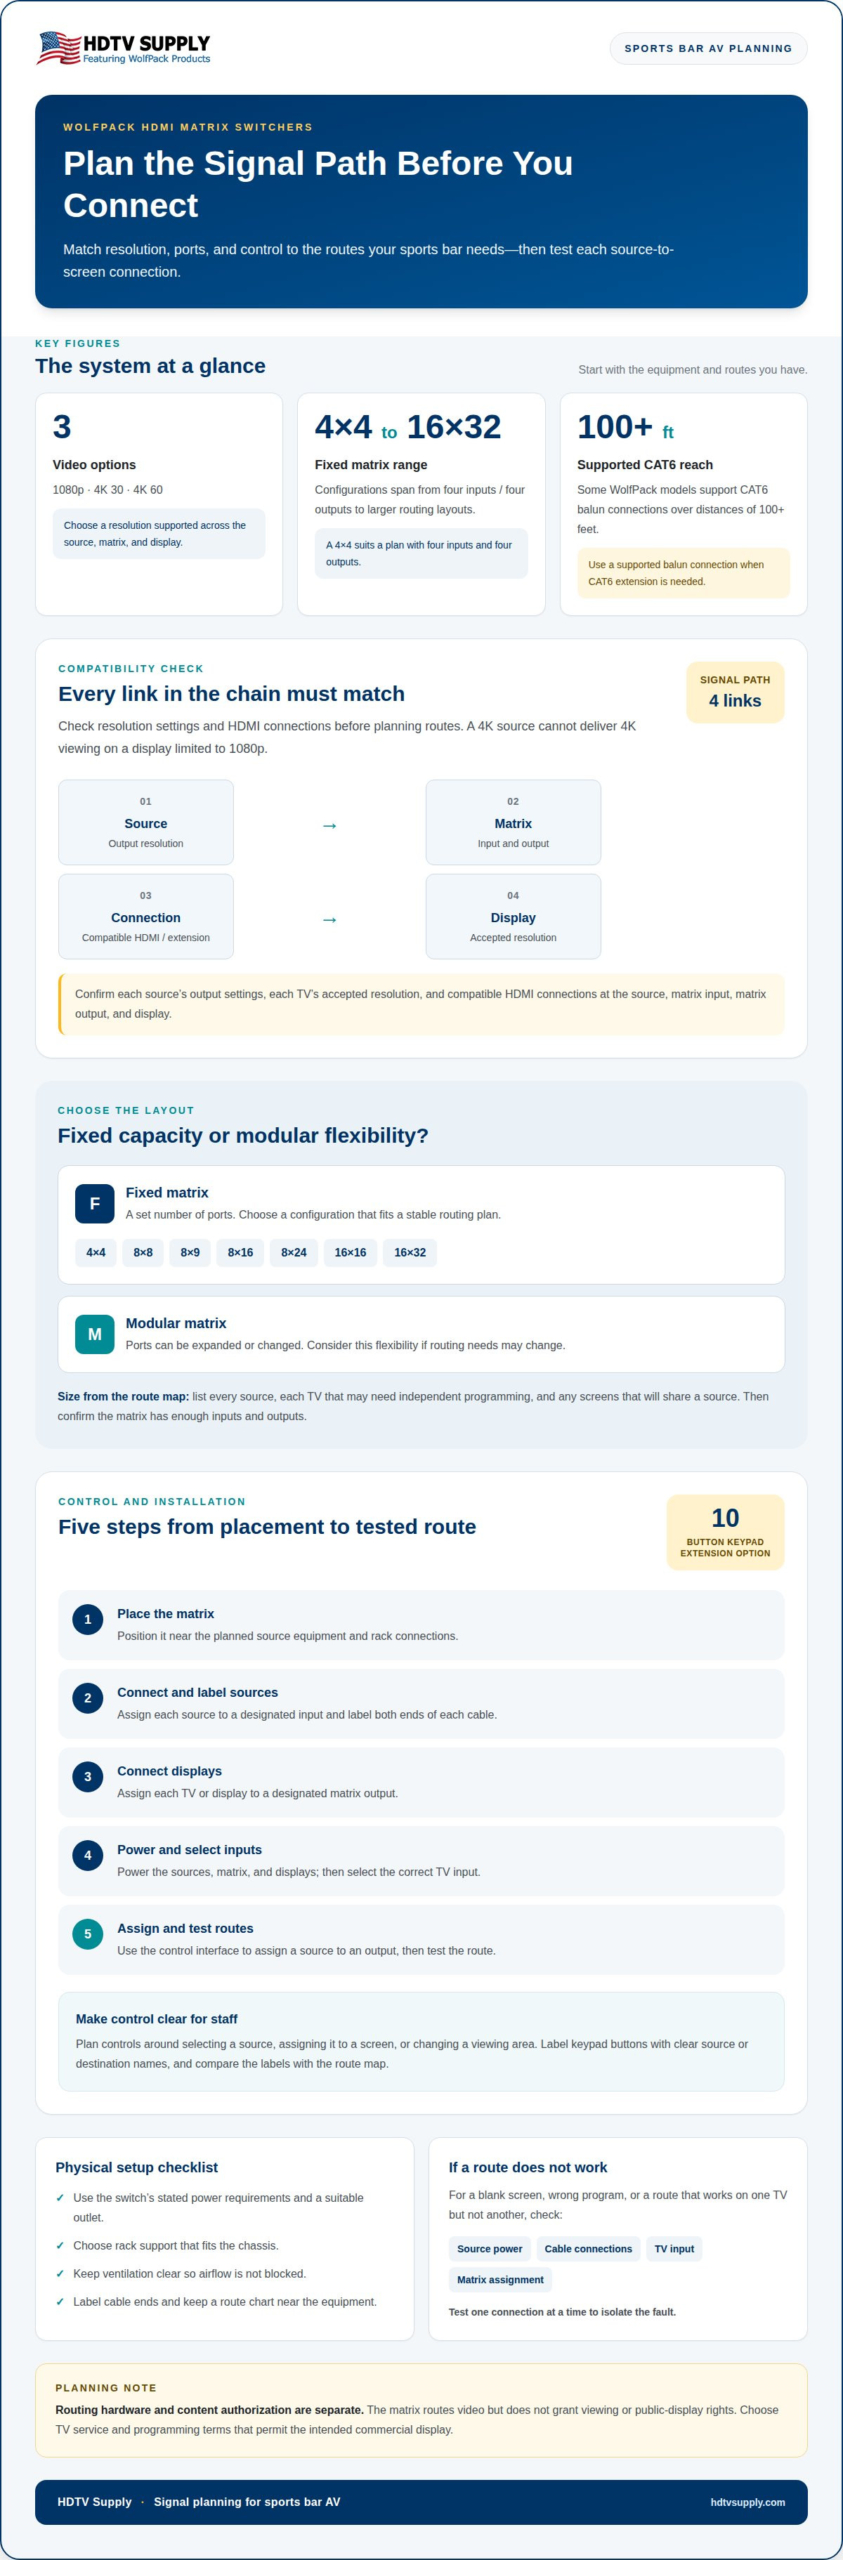
Planning how to install a WolfPack matrix switch in a sports bar starts with matching the matrix resolution to every source and display in the signal path. WolfPack Sports Bar Fixed HDMI Matrix Switchers offer 1080p, 4K 30, and 4K 60 options. Choose a resolution supported across the connected chain. A 4K source cannot deliver 4K viewing on a display limited to 1080p. Check each source’s output settings and each TV’s accepted resolution before connecting equipment. Review the HDMI connections on every device, too. The source, matrix input, matrix output, and display need compatible connections for the intended route.
Unlike a simple switch that sends one source to one display, a matrix routes multiple inputs to outputs in different combinations. A fixed matrix has a set number of ports; a modular matrix lets you expand or change the ports. When planning how to install a WolfPack matrix switch in a sports bar, choose the configuration that fits your routing needs: fixed capacity for a stable setup, or modular flexibility if those needs may change.
For power, use the switch’s stated requirements and a suitable outlet. Select rack support that fits the chassis, and follow its ventilation clearances so airflow isn’t blocked. Cable length depends on the route and signal-extension method; some WolfPack models support CAT6 balun connections over distances of 100+ feet.
Before installation, map each source to the TVs it must reach. Then confirm the matrix has enough inputs and outputs for that plan. Available fixed configurations include 4×4, 8×8, 8×9, 8×16, 8×24, 16×16, and 16×32. For example, a 4×4 configuration suits a routing plan with four inputs and four outputs, while a larger layout supports more connections. Use the selected resolution and connection type to guide cable choices. If a run needs CAT6 extension, use a supported balun connection rather than assuming a direct HDMI cable will cover the distance. Install with power, rack fit, and ventilation considered, then connect and test each planned source-to-screen route.
These switchers connect multiple HDMI sources, such as cable and satellite boxes, to multiple TVs, so staff can change what each screen shows as viewing needs change.
Expanding a sports bar AV setup
Plan around the routes your bar needs, not just the number of screens. List every source, such as cable or satellite receivers, and each TV that may need independent programming. Mark screens that will share a source, too. This map helps show whether a fixed input and output layout fits or modular capacity better supports planned changes. Future growth might mean adding sources, displays, or separately controlled viewing areas, all of which affect the connections you need. If you are also expanding your venue’s broader entertainment offerings beyond screens, sourcing game machines from specialists like Arcade Fundi can help create dedicated interactive entertainment spaces.
How do you choose the right WolfPack matrix switch for a sports bar? Match its input and output capacity to your routing map, then decide whether a fixed layout or modular expansion better suits your plans. Also consider how staff will group screens and whether different areas need separate programming.
Plan the physical setup alongside the signal map. You’ll need the matrix, HDMI sources, compatible TVs, and cables to connect them. A rack can help organize the equipment; provide suitable power and unobstructed ventilation. If a source or display uses a different connection type, include the appropriate signal-conversion equipment in your design. Label both ends of each cable with its source and destination, and keep a route chart near the equipment for troubleshooting.
What licensing or commercial TV service rules apply to showing sports in a U.S. sports bar? The matrix routes video, but it does not grant viewing or public-display rights. Choose a TV service and programming terms that permit your intended commercial display. Routing hardware and content authorization are separate considerations.
- Sources: cable boxes, satellite boxes, or other HDMI devices.
- Routing: a matrix sized for the planned inputs and TV outputs.
- Displays: TVs connected to the intended matrix outputs.
- Infrastructure: compatible cables, rack space, and suitable power.
Create the route map before connecting equipment. Test each source-to-display route, then label the connections so staff can identify them quickly. Keep system documentation with the AV equipment. It will make future changes easier to plan, whether you add a screen or reorganize viewing areas.
Matrix control options
There is no single typical total. Equipment cost depends on the matrix configuration, while installation cost depends on rack work, cable routes, and control setup. Budget for hardware and labor separately, since existing infrastructure affects the installation scope.
For day-to-day control, a 10-button keypad extension is an option on the fixed switchers. Plan its use around staff tasks: selecting a source, assigning it to a screen, or changing a viewing area. Label each button with a clear source or destination name. A simple naming plan helps staff avoid sending the wrong game to the wrong TVs.
Use this installation and configuration sequence:
- Place the matrix near the planned source equipment and rack connections.
- Connect each source to a designated input and label both ends.
- Connect each TV or display to a designated output.
- Power the sources, matrix, and displays, then select the correct TV input.
- Use the control interface to assign a source to an output, then test the route.
Start by routing one receiver to one TV. Confirm the picture and audio before assigning that receiver to additional screens. Then compare the control labels with the route map so staff can identify each control during service.
Common problems include a blank screen, the wrong program, or a route that works on one TV but not another. Check the source power, cable connections, selected TV input, and matrix input-to-output assignment. Test one connection at a time to isolate the fault.
- Blank screen: Confirm the source is on and the TV uses the connected input.
- Wrong program: Check the assigned matrix input and output.
- One failed display: Inspect that output’s cable and test another known-good route.
After testing, record the working routes and control labels. This reference helps staff restore the intended screen assignments consistently after a change.
Alongside the keypad option, a Wolfpack commenter recommends using push-to-talk because it is more reliable. Treat that as another control approach to consider when deciding how staff will operate the system. The choice should fit the intended control workflow, with staff able to recognize and use the selected method during service.
Routing multiple sources to multiple TVs
A WolfPack matrix switch connects multiple HDMI sources to multiple TVs and lets staff change which source appears on each screen. It can route inputs to outputs in different combinations or send one input to all outputs.
Start with a route chart. Give each source and display a clear label, then record the intended connections. For example, show one game on the main viewing-area TVs while another source plays on screens near the bar. The matrix manages these routes centrally, so staff do not have to reconnect source cables whenever programming changes.
Match the chart labels to the matrix’s physical inputs and outputs before routing. Connect sources to inputs and TVs to outputs. Then use the chosen control interface to select an input for each output. Test every route separately, confirming that the intended program appears on the intended TV. Once those checks are complete, test the combinations staff will use during service.
Plan common viewing arrangements as repeatable route patterns. Your bar might show one source across a group of TVs for a major game, then assign separate sources to different screens. Record the exact input-to-output assignments for each arrangement. Clear labels such as “Main Bar TV” or “Dining Area TV” are more useful than informal names that staff may interpret differently.
- Single-screen route: Assign one source input to the output for one TV.
- Shared-program route: Send one input to multiple outputs for matching screens.
- Mixed-program route: Assign different inputs to different outputs for separate viewing areas.
If a screen shows the wrong program, compare its output assignment with the route chart. If there is no picture, check that the source is connected to the intended input and that the TV is set to the connected input. Change one route at a time, then test again. This helps isolate routing errors without affecting unrelated screens.
Keep the chart near the equipment and update it whenever a source, display, or assignment changes. For a coordinated venue setup, explore sports bar TV distribution options.
HDTV Supply: WolfPack Modular Matrix Switchers
HDTV Supply offers WolfPack Modular Matrix Switchers for sports bars that need flexible source-to-screen routing or may change their systems in the future. A modular design can suit venues with evolving input and output needs, while a fixed configuration may fit a stable routing plan better.
For a broader distribution setup, the Sports Bar TV Distribution System addresses venue-wide TV routing. WolfPad TV Control Systems provide a control option, while WolfPackSecure 4K 60 4:4:4 HDMI Matrix Switchers suit systems requiring that stated video format. Choose around your sources, displays, resolution needs, and control workflow.
Contact HDTV Supply to discuss which option best fits your sports bar AV setup.
Make the Next AV Decision Count
A practical plan for how to install a WolfPack matrix switch in a sports bar accounts for future operating needs, not just opening-day connections. Consider how staff will handle changing events, new sources, and different viewing areas. A clear operating plan helps keep system changes consistent and reduces confusion during busy service.
As your setup evolves, HDTV Supply offers WolfPack Modular Matrix Switchers, a Sports Bar TV Distribution System, and WolfPad TV Control Systems. These options support matrix routing, venue-wide distribution, and TV control within a sports bar AV system. Choose equipment based on how your venue routes and manages content, rather than adding components without a defined role.
Ready to plan the next step for your system? Contact HDTV Supply for AV help and move forward with a setup designed around your venue’s needs.
Frequently Asked Questions
How do you connect cable or satellite receivers, streaming devices, and displays to a WolfPack matrix switch?
Connect each receiver or streaming device’s HDMI output to a matrix input, then connect each display to a matrix output. Power the devices and select the matching HDMI input on each display. In your route chart, for example, label one input “Satellite” and another “Streaming.” Test one source and display together, then check the other displays against their intended assignments.
How do you route different video sources to multiple TVs and create sports bar viewing zones?
Group matrix outputs by viewing area, then assign a source input to each output in that zone. For example, send one receiver to the screens showing the same game and route another source to a separate area. A matrix can send one input to all outputs or route inputs and outputs in different combinations. Use display names in the zone chart so staff can identify destinations easily.
Leave a Reply
Want to join the discussion?Feel free to contribute!